

The Solopreneur Specialist Newsletter
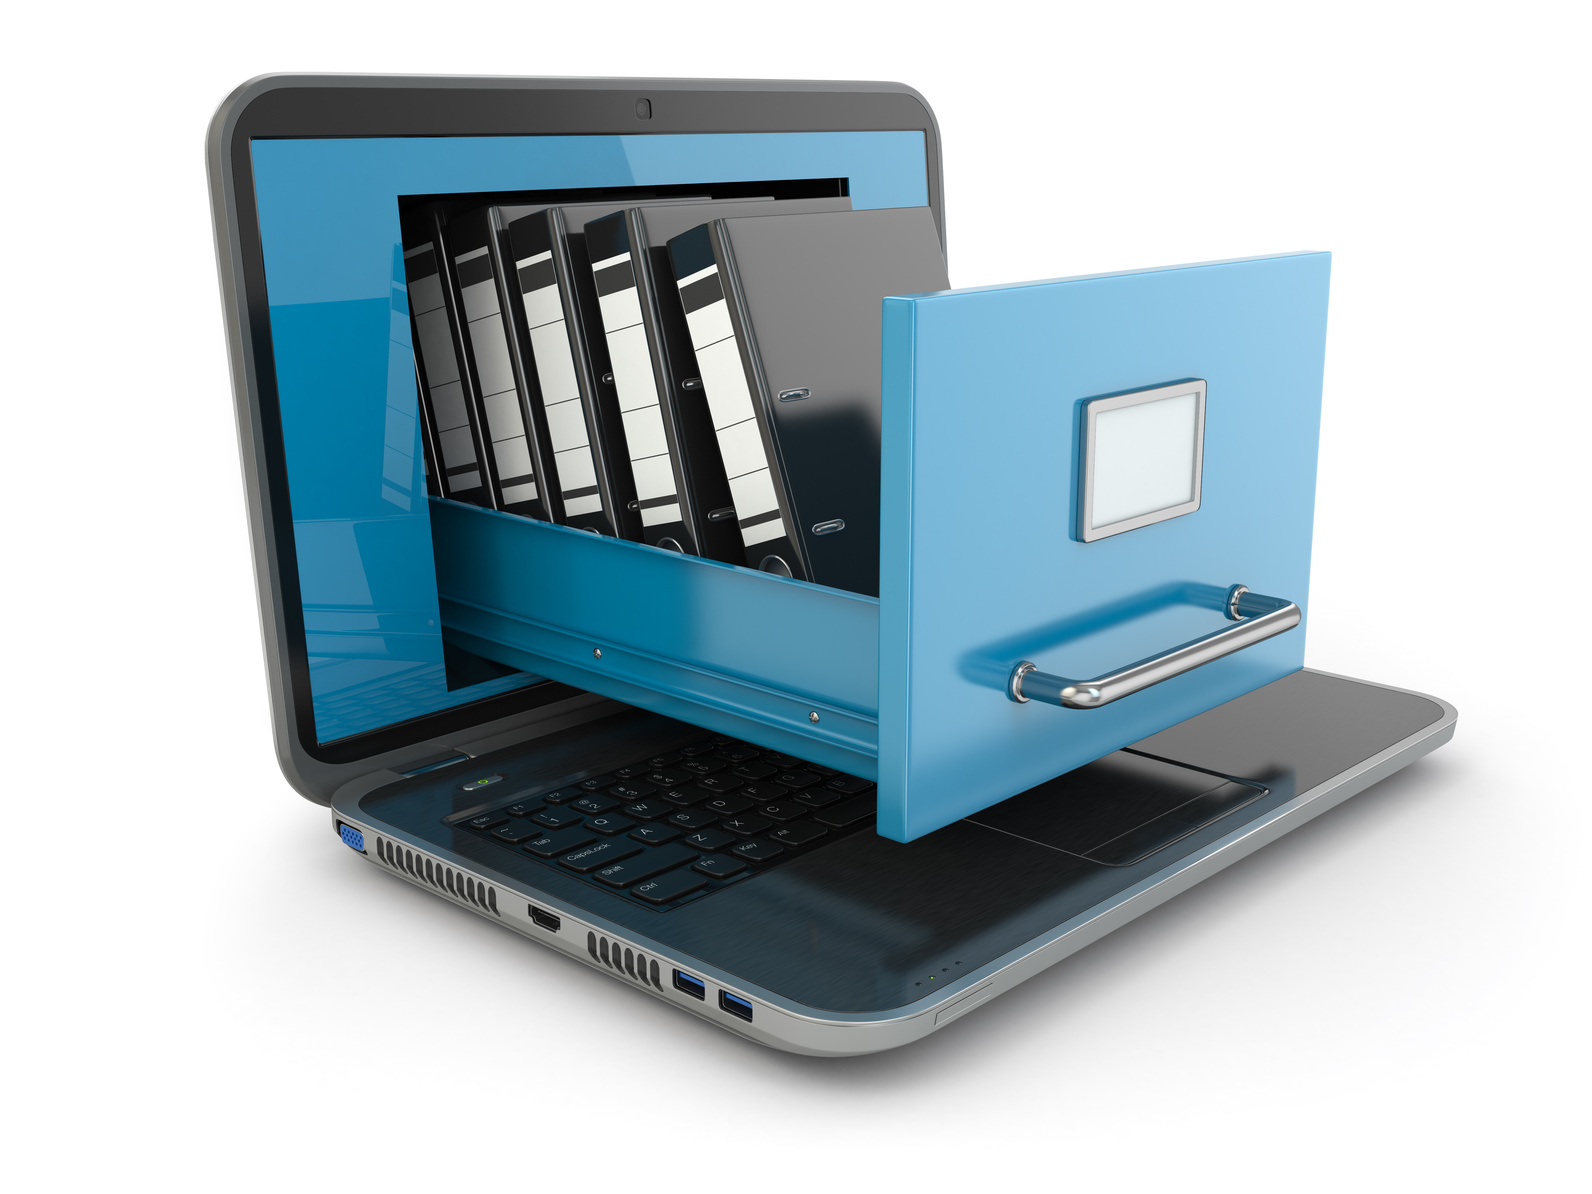
If you had to guess, what would you say is the percentage of paper files (versus digital files) you currently use in your business? 80% paper? 50% paper? 10% paper? As the world becomes increasingly digital and as technology advances many solopreneurs are proactively choosing to migrate documents from a paper to a digital system and there are numerous benefits, many of which can save business owners an incredible amount of time!
- Find Information Faster – once digitized, you are a keystroke away from being able to find any information you need, even if you can’t remember its exact location on your hard drive. I can’t tell you how many times a keyword search has saved me from hours of searching through papers!
- Easily Share and Collaborate – instead of having to fax or mail documents, you can email or share documents through programs such as Google Drive or Dropbox. Additionally, Google Drive allows you to edit in “real time” and these updates are automatically shared with those you’ve chosen to share it with. No more having to download spreadsheets, update them, and then email them back, only for the recipient to have to do the same!
- Easy Access to Your Documents “On the Go” – through the use of “the cloud” or remote storage, you can access your documents from your phone, tablet, or even a friend’s computer. This can come in handy if you’re in a business meeting and you’ve forgotten an important document at home! All your documents can be easily accessible in the palm of your hand.
- Security – it’s way too easy for paper files to be lost or damaged (think coffee spills or heaven forbid, a fire). Having digital files ensures you have easy access to backups in the event of a disaster.
- Space Saving – office space comes at a premium these days and we all wish we didn’t have so much “stuff”. When all your files are digital, you can say goodbye to big, bulky, and hard to move storage cabinets.
So are you ready to make the big move and go paperless (or mostly paperless) in your business? Here are some steps to help you through this process:
- Schedule – block out a good chunk of time in your calendar to go through your filing cabinets. Always schedule an hour or two more than you think you’ll need to make sure you finish. If you get going and realize it’ll take you longer than you expect, make sure you schedule another time to complete the task.
- Set Up Categories – I found it useful to have 4 labeled boxes to help with sorting:
-
Trash (papers you no longer need that don’t need to be shredded). Don’t forget to recycle!
-
Shred (for papers you no longer need, but have sensitive information on them to be shredded and recycled)
-
Keep Physical (papers such as warranties, certificates, important tax records, etc. that you need to keep)
-
Keep Digital (papers that have important information you plan to scan and then shred if needed)
-
- Keep a Pen and Notebook Nearby – as you’re sorting, this pen and notebook will be handy to jot down any correspondence from companies that, in the future, can be emailed instead of mailed by selecting the “paperless” option under your account settings online. This will reduce the amount of paper you will have to process in the future.
- Scan & File Documents Using Programs Such as Evernote or Dropbox – these two programs now offer the convenience of scanning documents through the camera on your smartphone. Files are saved as PDFs instead of JPGs in the digital filing system you create. Remember to follow good online security practices such as passwords that are long in length, with varying characters and letters.
- Smartly Organize Remaining Physical Files in Cabinet – you may want to buy a label maker and beautiful hanging file folders for the papers you do need to physically keep. Organize these important files in a way that will be both attractive and intuitive for your business workflow. You will find it’s a good idea to set up your paper files and digital files with the same categories. There will always be some documents that it makes sense to save in one format or the other. If the categories are the same it limits the number of places to look if you don’t remember the format — if it’s not in one place, you know just where to look in the other.
- Use Free Shredding Services – many credit unions and cities offer free shredding in bulk. Take advantage of these services and save yourself the time in trying to do it yourself with a home paper shredder.
- Set Up Paper Processing Inboxes – for any remaining physical paper that comes into your business, you’ll need a quick system to ensure you don’t fill-up your filing cabinet or create new piles of paperwork in your office. Create an inbox for “FILING CABINET” and an inbox for “SCAN”. All other papers need to be thrown away or shredded if they are not needed. Schedule a time, say once a month or so, where you can file papers away or scan them to your digital records.
I hope these steps are helpful for you. Put in the hard work and you’ll feel a great weight lift from your shoulders (and from your office floor!). If you need further help in deciding how to create this and other systems for your office to run efficiently and effectively, give me a call and we can get to work!